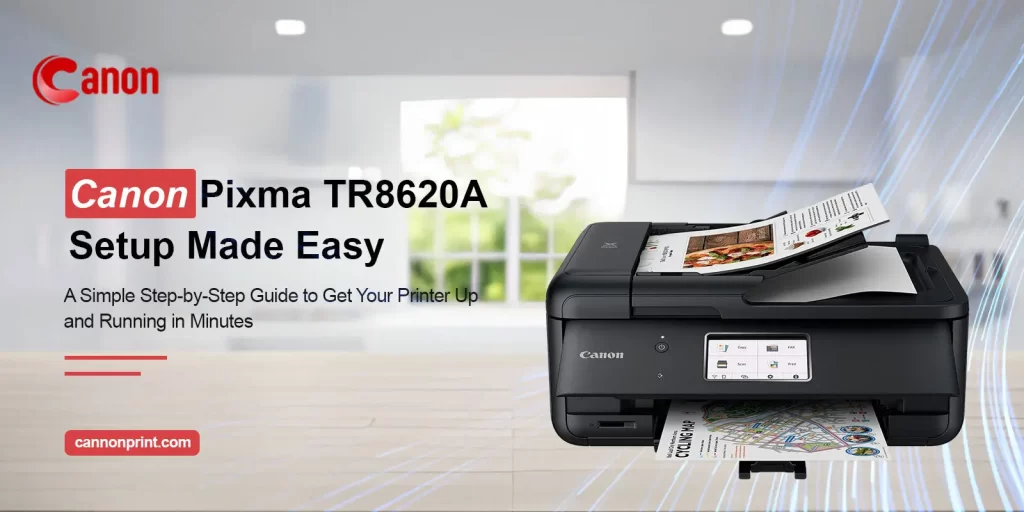
In today’s digital world, having a reliable and efficient printer like Canon Pixma wireless printers is essential for personal or enterprise use. Whether you are working from home or require a handy printer to manage everyday printing tasks in your office, the Canon Pixma TR8620A is a perfect choice. To get you familiar with this versatile, all-in-one printer, this Canon Pixma TR8620A setup guide walks you through its basic processing and connectivity. So, learn everything from unboxing to wireless connectivity through this guide. Let’s read!
Setting Up a New Canon Pixma TR8620A Printer
Before heading toward the wifi connectivity and advanced setup straight away, it is important to complete the basic Canon Pixma Printer TR8620A Setup. This may include powering on your device, unboxing, installing the ink cartridges, loading the paper trays, followed by the wifi connectivity. So, stay in this section to explore the different ways to set up your printer. Let’s read!
Initial Canon Pixma TR8620A Setup
- Firstly, unbox your Canon printer and remove the orange tape.
- Now, power on your printer by pressing the ‘ON’ button.
- Use the touchscreen panel of your printer to select the language.
- After that, open the cover and insert the ink tanks/cartridges, and close the cover.
- Now, load the plain LTR or A4 size paper.
- Then, align your printer to get high-quality prints.
- After that, follow the guidelines appearing on the printer’s screen.
Easy Wireless Setup on Smartphone
- Now, connect your smartphone to the printer via wifi network.
- From the printer’s screen, tap & hold the ‘Wireless Connect’ icon.
- Then, you will receive a message that your printer is ready for setup.
- Next, download the Canon Print app on your smartphone.
- Launch the app and access your admin account.
- Then, follow the on-screen prompts to complete the Canon Pixma Printer TR8620A Setup.
Canon Pixma TR8620A Setup on Windows
- Firstly, connect your computer to the printer via the cable connections or wirelessly.
- Now, download the latest software and double-tap the ‘Setup’ icon to start the Canon Pixma TR8620A Setup on the computer.
- Then, tap ‘Start Setup’, read the on-screen information, and the EULA.
- Enable the necessary permissions on the screen.
- Then, you will reach the ‘Check the Connection Method’ screen.
- Follow the on-screen instructions to establish the connection and complete the setup.
Manual Wireless Setup
- Initially, verify that your Canon printer is powered on.
- Then, tap ‘WiFi Setup’> ‘Manual Connect’ from the printer’s touchscreen.
- Hereon, your printer will search for the available wifi networks.
- Choose a preferred wifi SSID and enter its password to establish a connection.
- Finally, tap ‘OK’ to connect your printer wirelessly.
- Now, you can enable or disable your wifi, view the wifi settings, and perform WiFi Setup.
- Moreover, tap ‘Advanced’ to configure the advanced settings on your device.
- With this, the Canon Pixma Printer TR8620A Setup is finished.
Final Words
In short, with the Canon Pixma TR8620A Setup fully setup, you are ready to handle, scan, and copy with ease. Doesn’t matter, you are setting up the printer from your computer, smartphone, or from the printer itself; following the right instructions ensures reliable performance. If you run into any hiccups or fuss during this process, ask our professionals for personalized assistance in the chat box!


